Now it is time to actually get started. Today we will cover the creation of a basic class form using a no code solution tool called InfoPath 2013. Our tool will be hosted on our SharePoint 2013 collaboration site.
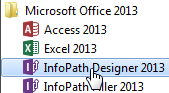
- Launch InfoPath Designer 2013
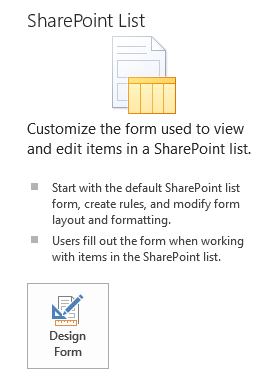
- Select SharePoint List from the New menu
- Click Design Form
- Enter the URL of the SharePoint site you will use to host your site
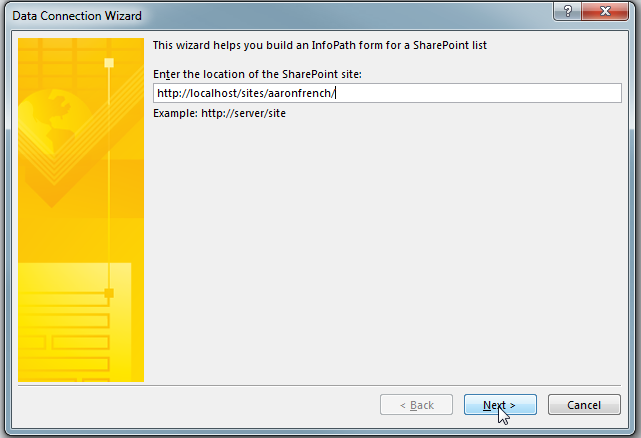
- Click Next
- Select Create a new SharePoint list called Classes
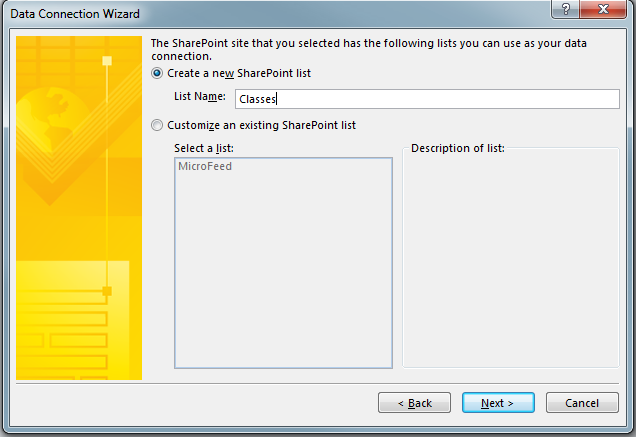
- Click Next then Finish
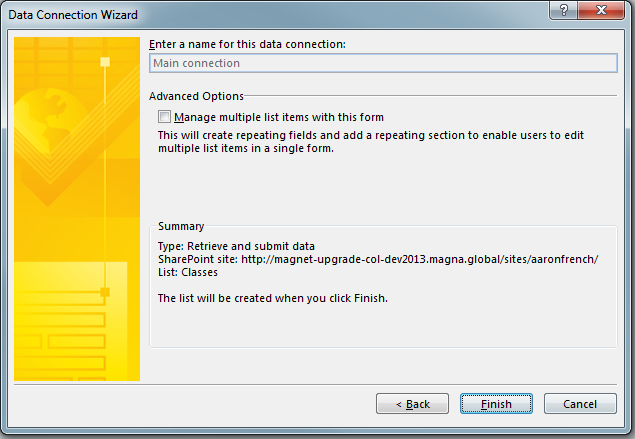
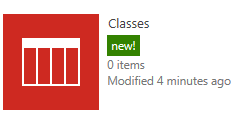
- The list will now be created on your SharePoint site
- The Default form will show only the Title and Attachments

- The Default form will show only the Title and Attachments
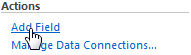
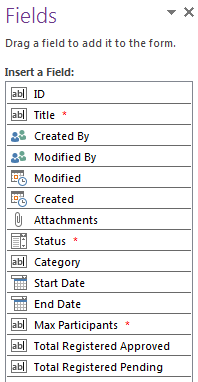
- Now we need to create the following fields with the following data types by clicking the Add Field
- Status (Choice)
- Cancelled
- Full
- Open
- Closed
- Completed
- Unavailable (Default Choice)
- Category (Text)
- We will later configure this to pull choices from another SharePoint list
- Start Date (Date)
- End Date (Date)
- Max Participants (Number)
- Note: this will be a whole number
- Registration Link (Calculated Field/Number)
- We will adjust this to allow us to give our users a friend link in the list views
- Seats Remaining (Calculated Field/Number)
- Used to help the workflows determine if a class is full.
- Calculation: Max Participants – Total Registered Approved
- Total Registered Approved (Number)
- Total Registered Pending (Number)
- Status (Choice)
- Enter the Display Name Status and select Choice (menu to choose from) for the Data type
- Enter a default value of Unavailable

- Click the Edit Choices button and click Add/Modify to add the following choices:
- Cancelled
- Full
- Open
- Closed
- Completed
- Unavailable
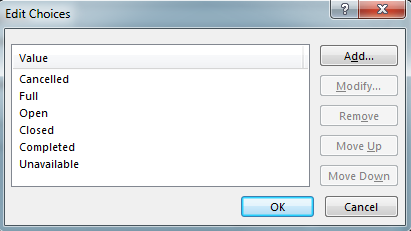
- Click OK and OK again to add the Status field
- Now repeat adding the following new fields:
- Category
- Display Name: Category
- Data Type: Single line of text
- Start Date
- Display Name: Start Date
- Data Type: Date
- End Date
- Display Name: End Date
- Data Type: Date
- Max Participants
- Display Name: Max Participants
- Data Type: Number
- Default Value: 0
- Can not be blank checked
- Minimum Value: 0
- Total Registered Approved
- Display Name: Total Registered Approved
- Data Type: Number
- Total Registered Pending
- Display Name: Total Registered Pending
- Data Type: Number
- Category
- Registration Link and Seats Remaining will be added directly to the list later
- Once you have all of these fields added we can start laying out the form
- Go ahead and delete the Attachments from the form
- Add a row to the existing table by right-clicking on the blank row that originally had the attachments and clicking on Insert then Rows Below
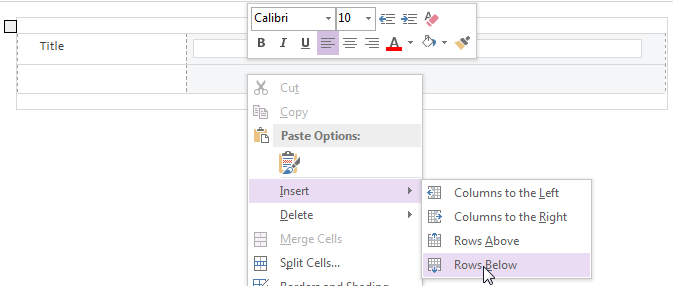
- Continue this process until you have 8 new rows
- Tip: You can save time adding rows by selecting multiple rows and then clicking Insert Rows Below. This will add a number of rows relative to the number you have selected already.
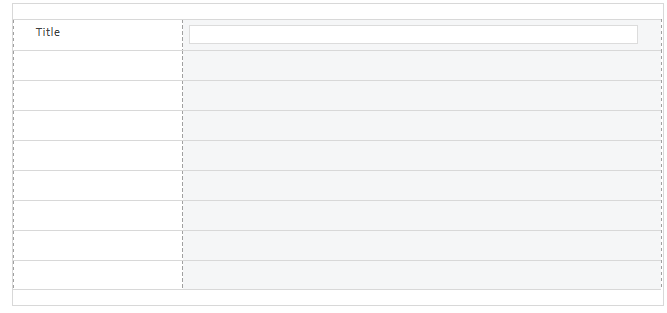
- Tip: You can save time adding rows by selecting multiple rows and then clicking Insert Rows Below. This will add a number of rows relative to the number you have selected already.
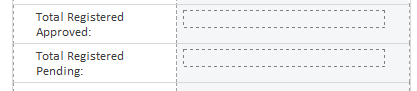
- Now click on the fields and drag them to the form. When complete your form should look like this:
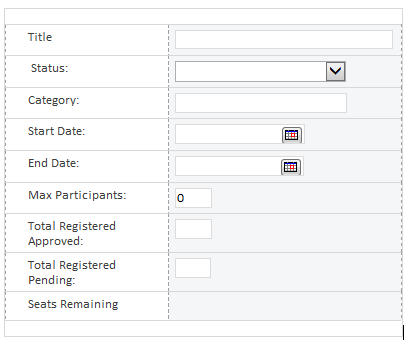
- I went ahead and adjusted the field, row and form width till I found a look I liked
- Note: I went ahead and typed in Seats Remaining as a placeholder for our future field.
- Now right click on the text box for Total Registered Approved and select Change Control and then Calculated Value
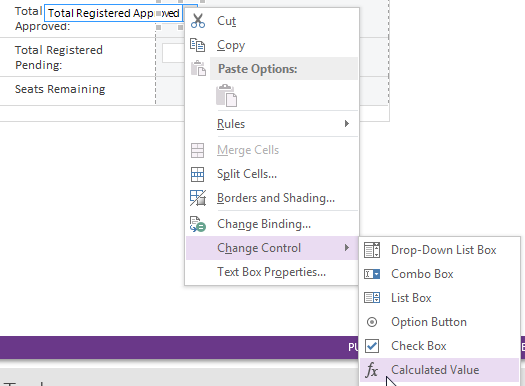
- This will make the field read-only
- Repeat step 21 for Total Registered Pending
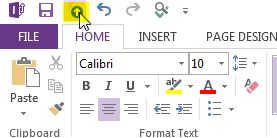
- Now let’s publish our form by clicking the Quick Publish link at the top of the InfoPath Designer.
- If all goes well you should get this message:
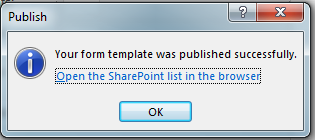
- Click on the “Open the SharePoint list in the browser” to launch our new form.
- Click New Item to see our form.
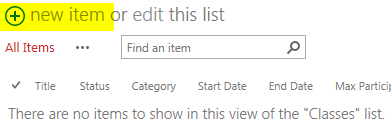
- Fill in the form with some test data and click Save.
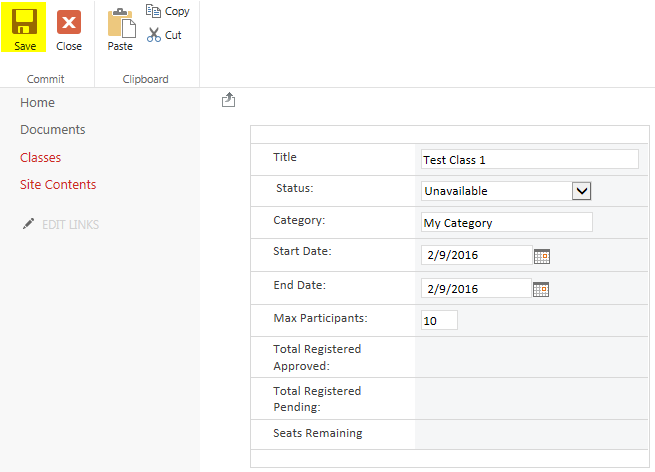
- Now we have our first class added to the list

Congrats Your First InfoPath 2013 no code form is complete
This completes our first walk through on building our basic class registration form in InfoPath using the no code methodology. We have a lot to cover and I don’t want each topic to get too winded. Next time we will add our registration link and set up our calculated fields.
0 Comments
2 Pingbacks