Continuing on from the creation of our initial class form now we will cover the creation of a few basic fields and calculated fields that will support our no code solution. This time we will edit our list directly in Internet Explorer.
- Begin by launching Internet Explorer and navigating to your class list.
- In my case my address will be: http://localhost/sites/aaronfrench/Lists/Classes/AllItems.aspx
- Click on the List tab in the upper left hand of your screen and then click List Settings in the ribbon
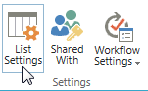
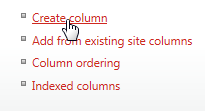
- Here we can see all of our setting and fields for our Class list. Scroll down and click Create Column
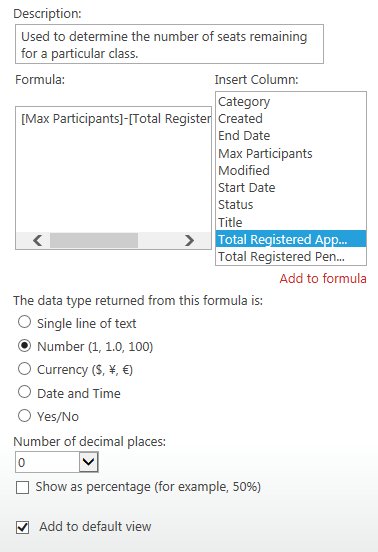
- In the column name field enter Seats Remaining and choose Calculated for the field type
- Now enter the Formula text box and enter the following formula determined earlier
- [Max Participants]-[Total Registered Approved]
- Change the data type returned to Number
- Change the number of decimal places to 0
- Now click OK
- Create another field by clicking on the Create Column link again
- Set up the following settings:
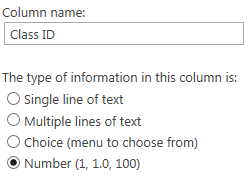
- Column Name: Class ID
- We will use this column to deal with a limit of SharePoint where we cannot use the ID field in a calculated column
- Later we will setup a workflow to assign the list item’s ID to Class ID
- We will use this column to deal with a limit of SharePoint where we cannot use the ID field in a calculated column
- Data Type: Number
- Column Name: Class ID
- Click OK
- Let’s create another calculated column by clicking Create Column again
- Set up the following settings:
- Column Name: Registration Link
- Data Type: Calculated
- Formula:
-
=IF(Status=”Open”,”<a href=”&”http://
localhost/sites/aaronfrench/Lists/
Registration/Item/newifs.aspx?Source=http://localhost/sites/aaronfrench/
SitePages/Home.aspx&ClassID=”&[Class ID]&”>Register</a>”,””))- Note: You will need to replace localhost/sites/aaronfrench/ with the name of your local SharePoint 2013 site.
-
- Return Date Type: Number
- Note: Due to a limitation of SharePoint, you will need to select Number as the return data type to be able to create a viable link.
- Click OK
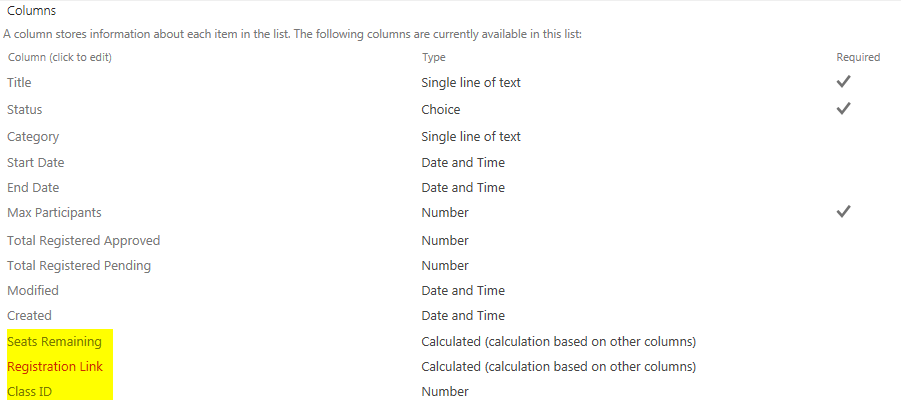
- Now we should have three new fields that will support our final solution:
- Class ID
- Seats Remaining
- Registration Link
- To see our handy work let’s view our class list and change our class Status to Open.
- Note how the Seats Remaining should equal our Max Participants since we have not yet approved any registrations. We should see our Registration link, but it should not work quite yet. If you change the class status to anything other than Open the link will disappear. That is one handy no code solution tip. Registration users will not be able to register for a class that is not open for registration…Very Nice! Finally we will not have anything in our Class ID yet since we need to create a SharePoint workflow in SharePoint Designer 2013

- Note how the Seats Remaining should equal our Max Participants since we have not yet approved any registrations. We should see our Registration link, but it should not work quite yet. If you change the class status to anything other than Open the link will disappear. That is one handy no code solution tip. Registration users will not be able to register for a class that is not open for registration…Very Nice! Finally we will not have anything in our Class ID yet since we need to create a SharePoint workflow in SharePoint Designer 2013
This completes part 3 of our no code solution using SharePoint
Next time, we will setup a SharePoint 2013 workflow to create the Class ID without using any code. Then create our Registration form.
Part 4 of the Series
April 27, 2017 at 4:27 am
Hello! Cool post, amazing!!!
April 13, 2021 at 3:01 pm
This is exactly what I was looking for!! Thank you for this, but will there be a part 4??